Production Wiki
Knowledge base for the Film Program at the UCF Nicholson School of Communication and Media
Monitor Playback in Premiere Pro
Overview
When editing, it is useful to have playback on an external or secondary monitor. To do so, you have to enable a few of settings to ensure functionality. This article will help show you how to set this up, and if there are any issues with playback in Adobe Premiere Pro, how to correct them.
This article was made with Premiere Pro 2024 in mind. There may be some differences compared to other versions of the application.
Playback Settings
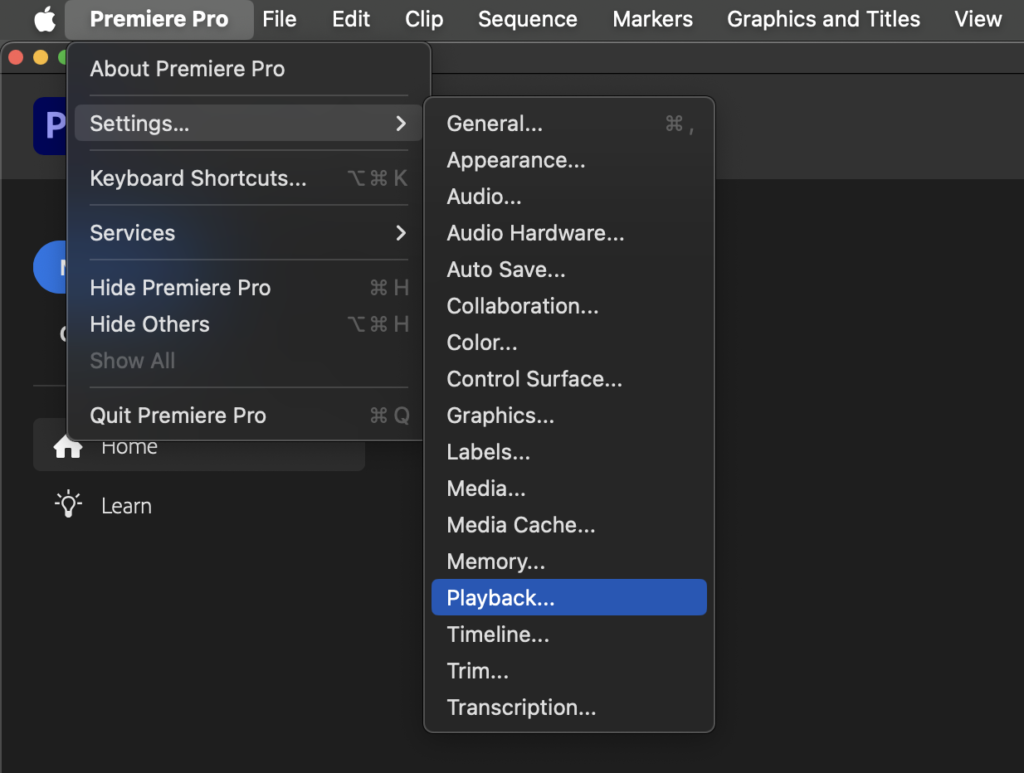
- When Premiere Pro is open, go to the upper left of the Finder taskbar and click Premiere Pro in the taskbar. From there, select Settings > Playback from the drop-down menu.

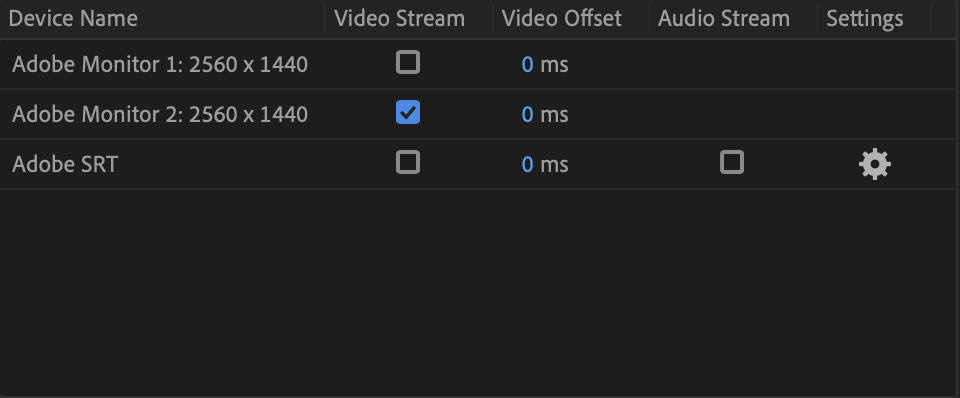
- When the Playback Settings opens, there will be a list of device names. Click the checkbox next to whatever monitor you would like to use for playback. For example, if Premiere application is open on Monitor 1, you’d like to select Monitor 2 as your playback device. Once you have selected your specific device select Save to apply settings.

Client Monitors in Editorial Suites
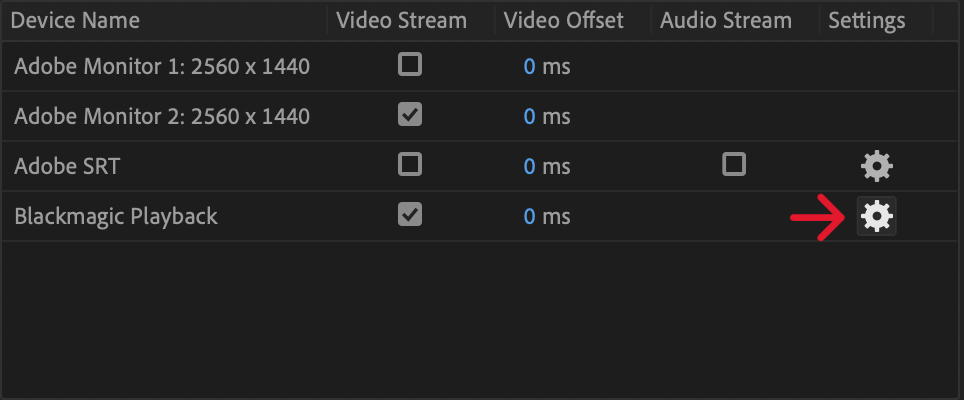
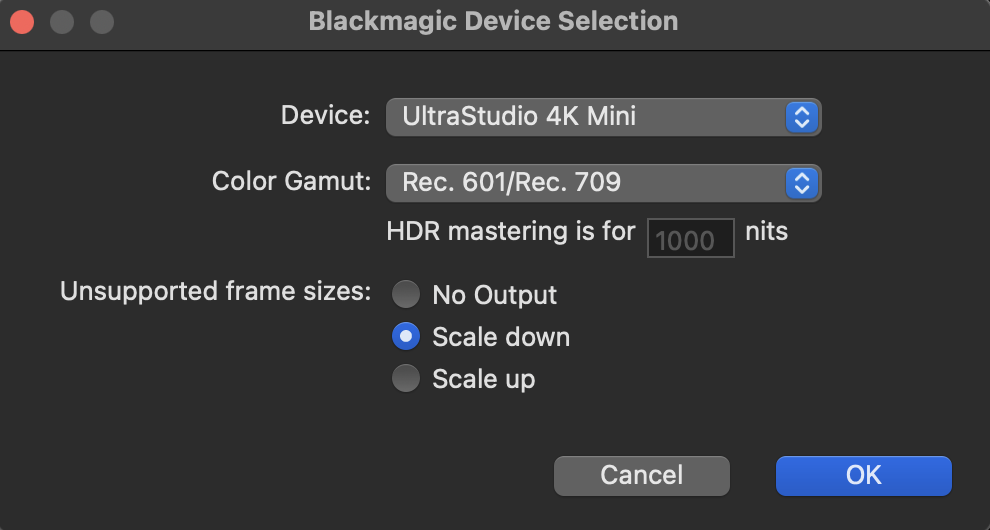
- To ensure proper video playback on the client monitors in the Editorial Suites, you would also need to select Blackmagic Playback. If your timeline is set to a non-broadcast standard frame size, you will need to scale the output. Select the spoke wheel icon next to Blackmagic Playback to bring up the Blackmagic Device selection settings window.

- Once the Blackmagic Device Selection settings window appears, if it is not selected already, select Scale Down for the Unsupported Frame Size to support timeline frame sizes that are larger than UHD 3840×2160. If working on timeline that has a frame size smaller than HD 1920×1080, select Scale Up. If the frame size is between HD and UHD, then select Scale Up or Scale Down as you see fit.

Playback should now work. If you are still having issues, please contact Film Operations for assistance. Please do not rewire workstations to resolve monitor issues.